

This guide walks you through the process of embedding a meeting within your webpage using the Eagle 3D Streaming Frontend SDK. The steps are structured to be easy to follow, while ensuring a professional setup.
Follow the guide below:
Step 1. Download the Frontend SDK
Obtain the SDK package from the provided drive link: Download SDK
Step 2. Extract the SDK
Extract the downloaded ZIP file and rename the folder as Host.
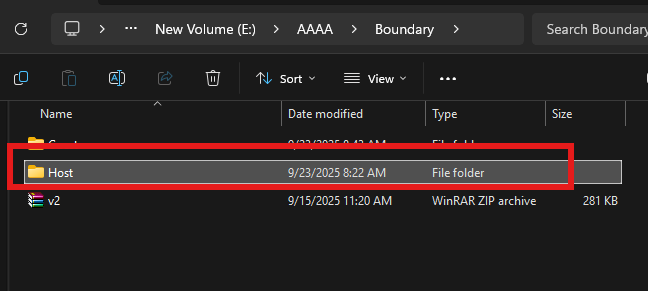
Step 3. Open the Project in Your Editor
Open the Host folder in your preferred code editor.
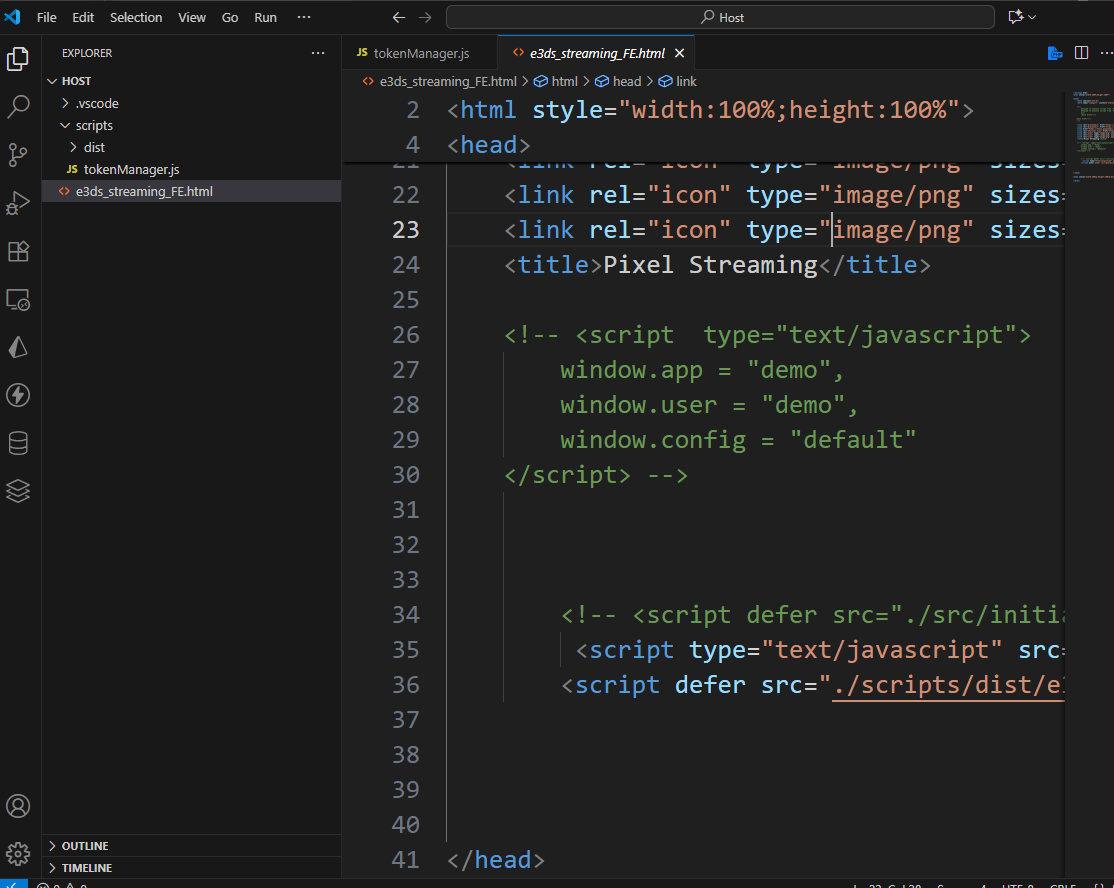
Step 4. Open tokenManager.js
Locate and open the tokenManager.js file inside the project.
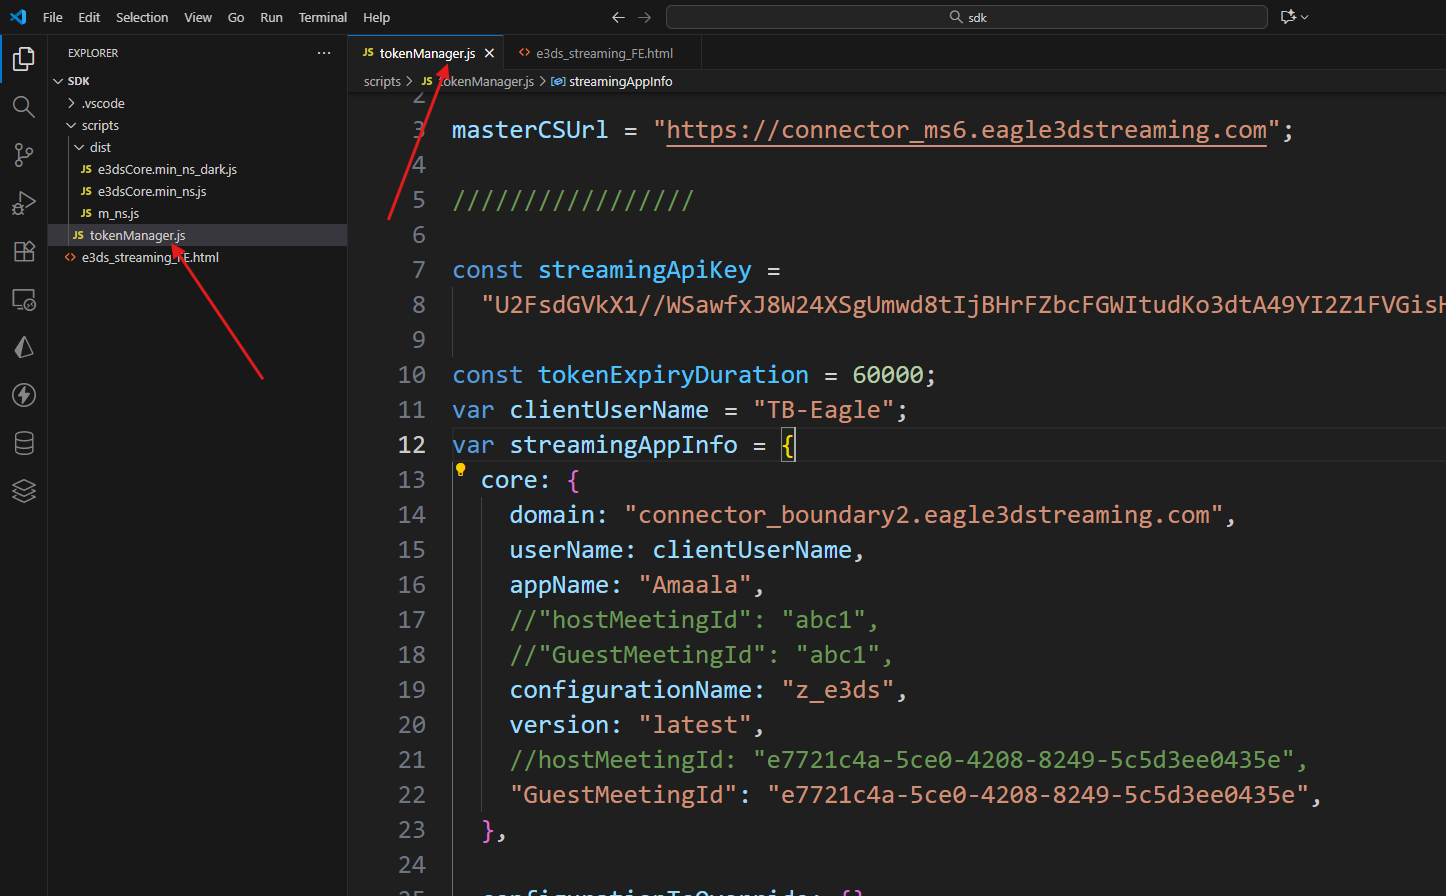
Step 5. Configure Authentication Details
Update the following values in tokenManager.js:
-
streamingApiKey → Your Streaming API Key (refers to Streaming API Key doc)
-
clientUserName → Your Username on the Eagle 3D Streaming Platform
-
tokenExpiryDuration → Define the token validity duration
Note: There are two types of API keys. Ensure you are using the Streaming API Key.
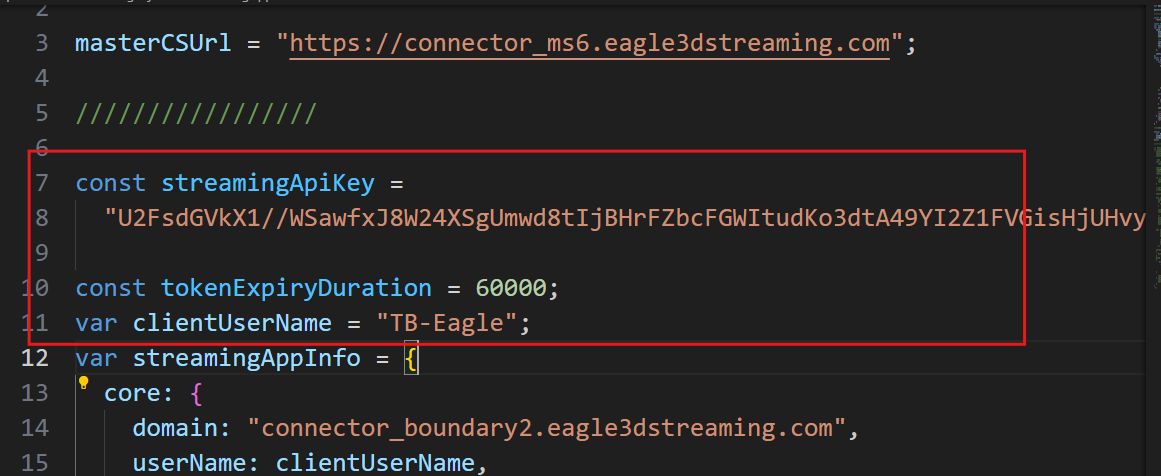
Step 6. Update Required Information
Inside the configuration file, update the following fields:
-
domain →
connector_boundary2.eagle3dstreaming.com[for new system] -
appName → Name of the app you want to embed
-
configurationName → Configuration name for the app
-
version →
latest(recommended to use the latest build) -
hostMeetingId → A unique string for the meeting session
Each session must have a unique hostMeetingId to avoid conflicts.
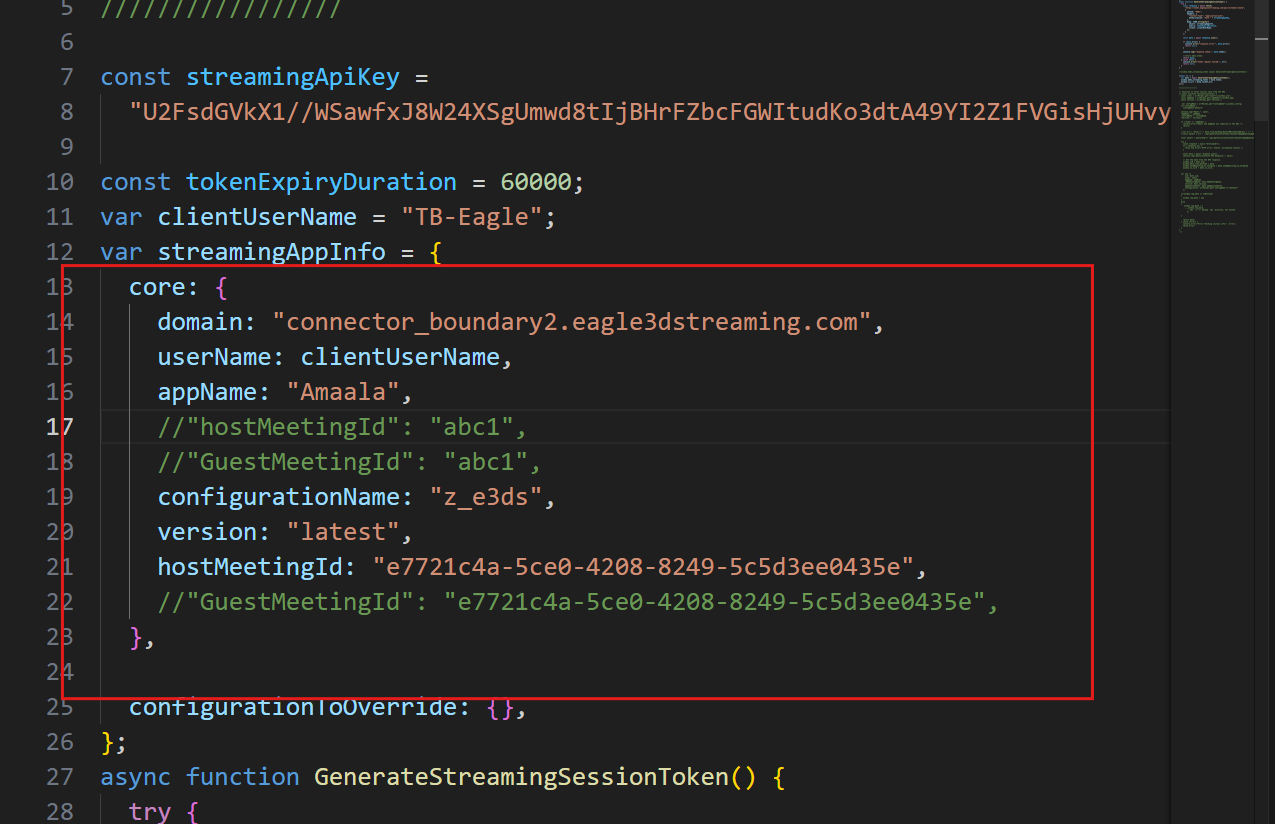
If two hosts use the same hostMeetingId, it may lead to conflicts or unexpected behavior during the session. Please ensure the ID is unique to avoid such issues.
Step 7. Create a Guest Copy
Duplicate the Host folder and rename the copy to Guest.
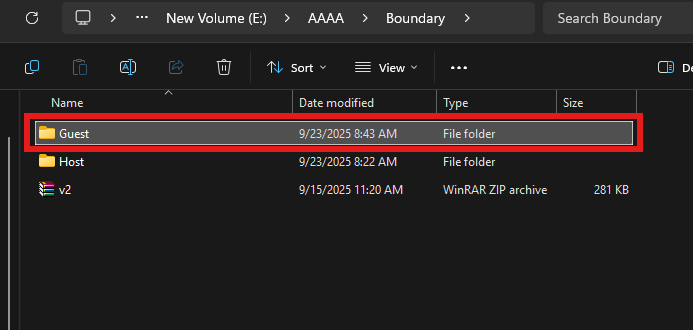
Step 8. Configure the Guest Side
Repeat Steps 3–6 for the Guest folder.
-
Use the same Meeting ID for both host and guest.
-
In the Host side, it’s defined as hostMeetingId.
-
In the Guest side, set it as GuestMeetingId.
Example:
-
Host →
hostMeetingId = 123456 -
Guest →
guestMeetingId = 123456
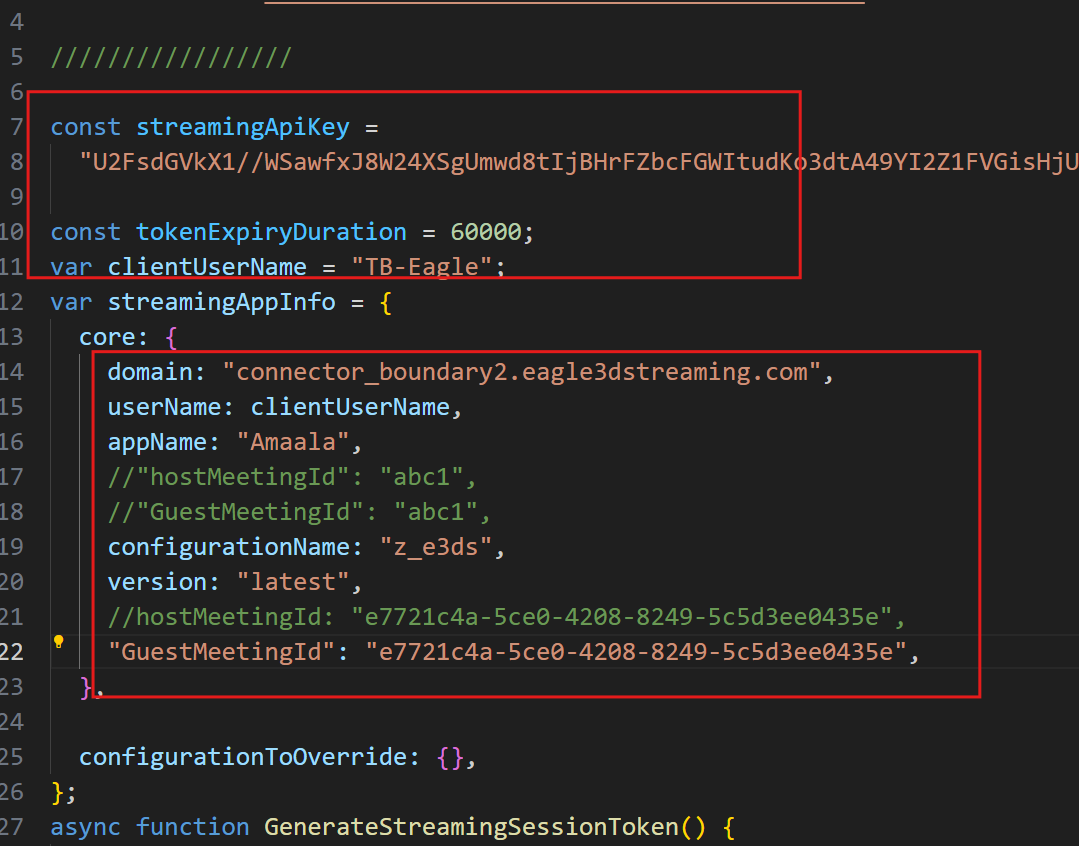
Step 9. Run the Host Side
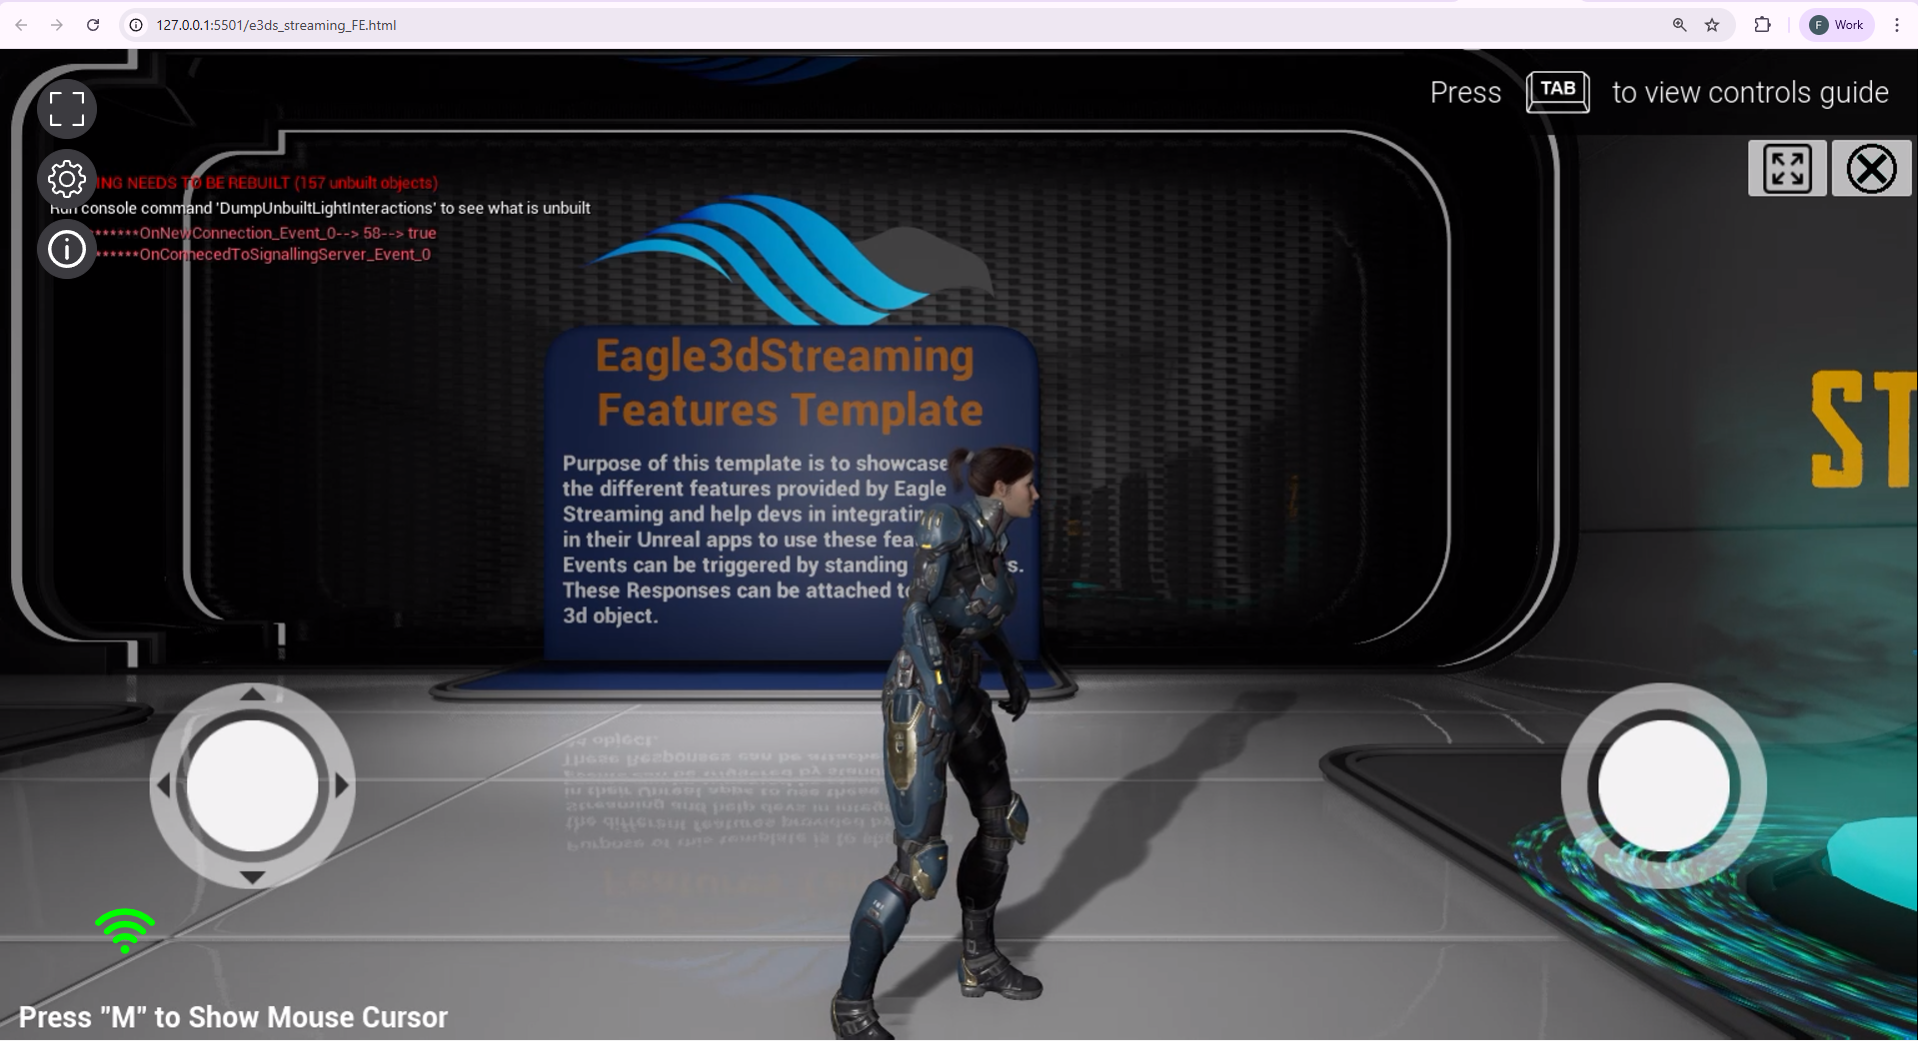
Open the file e3ds_streaming_FE.html from the Host folder and run it locally using a live server.
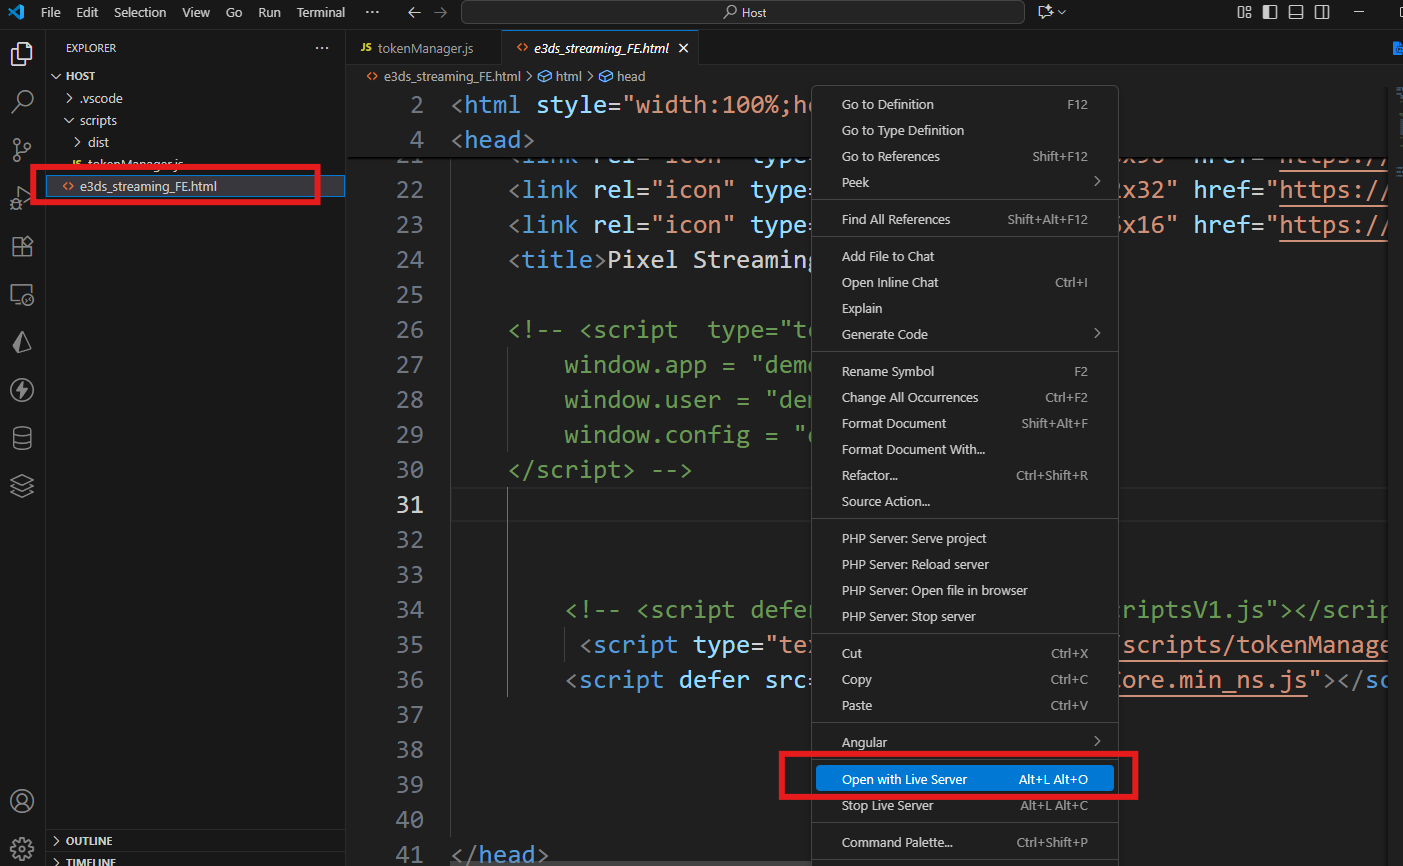
Step 10. Run the Guest Side
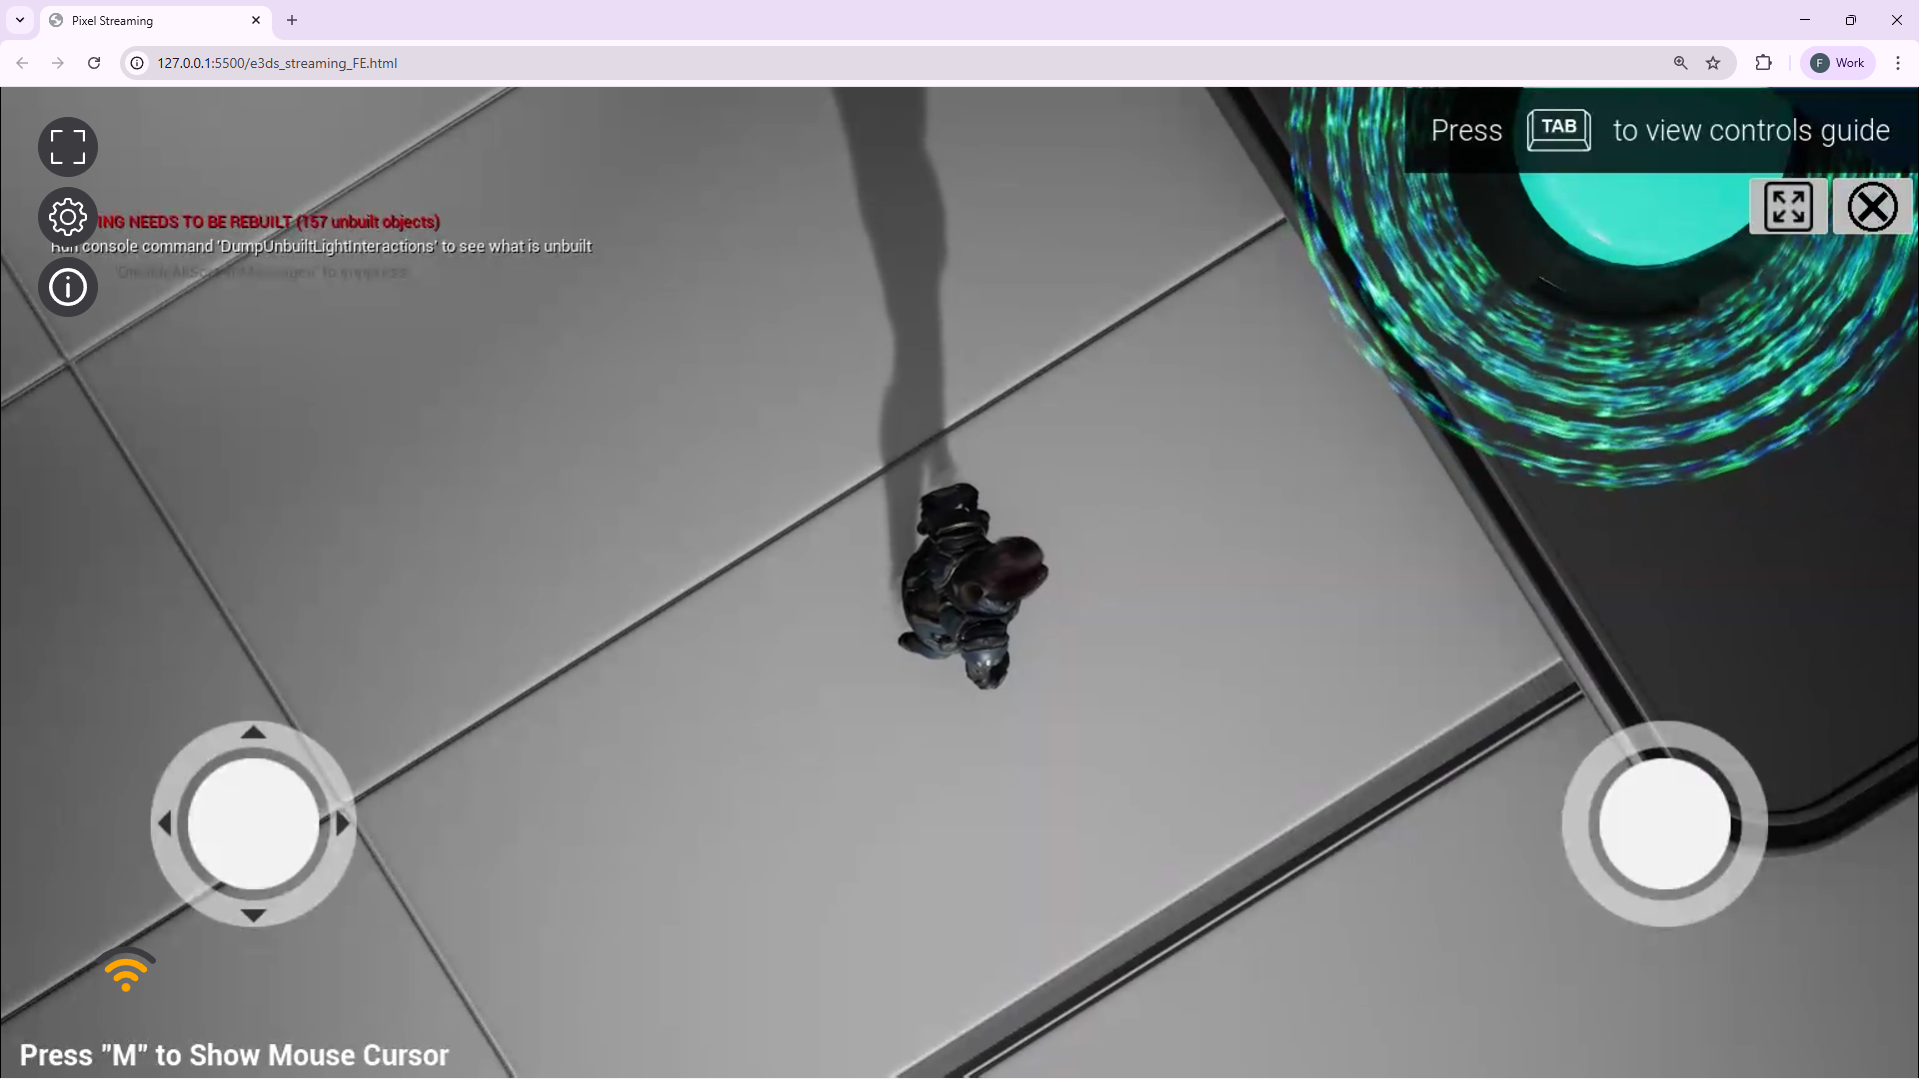
Do the same for the Guest folder.
Step 11. Test Meeting Functionality
-
Host → Can interact, move, and perform activities within the session.
-
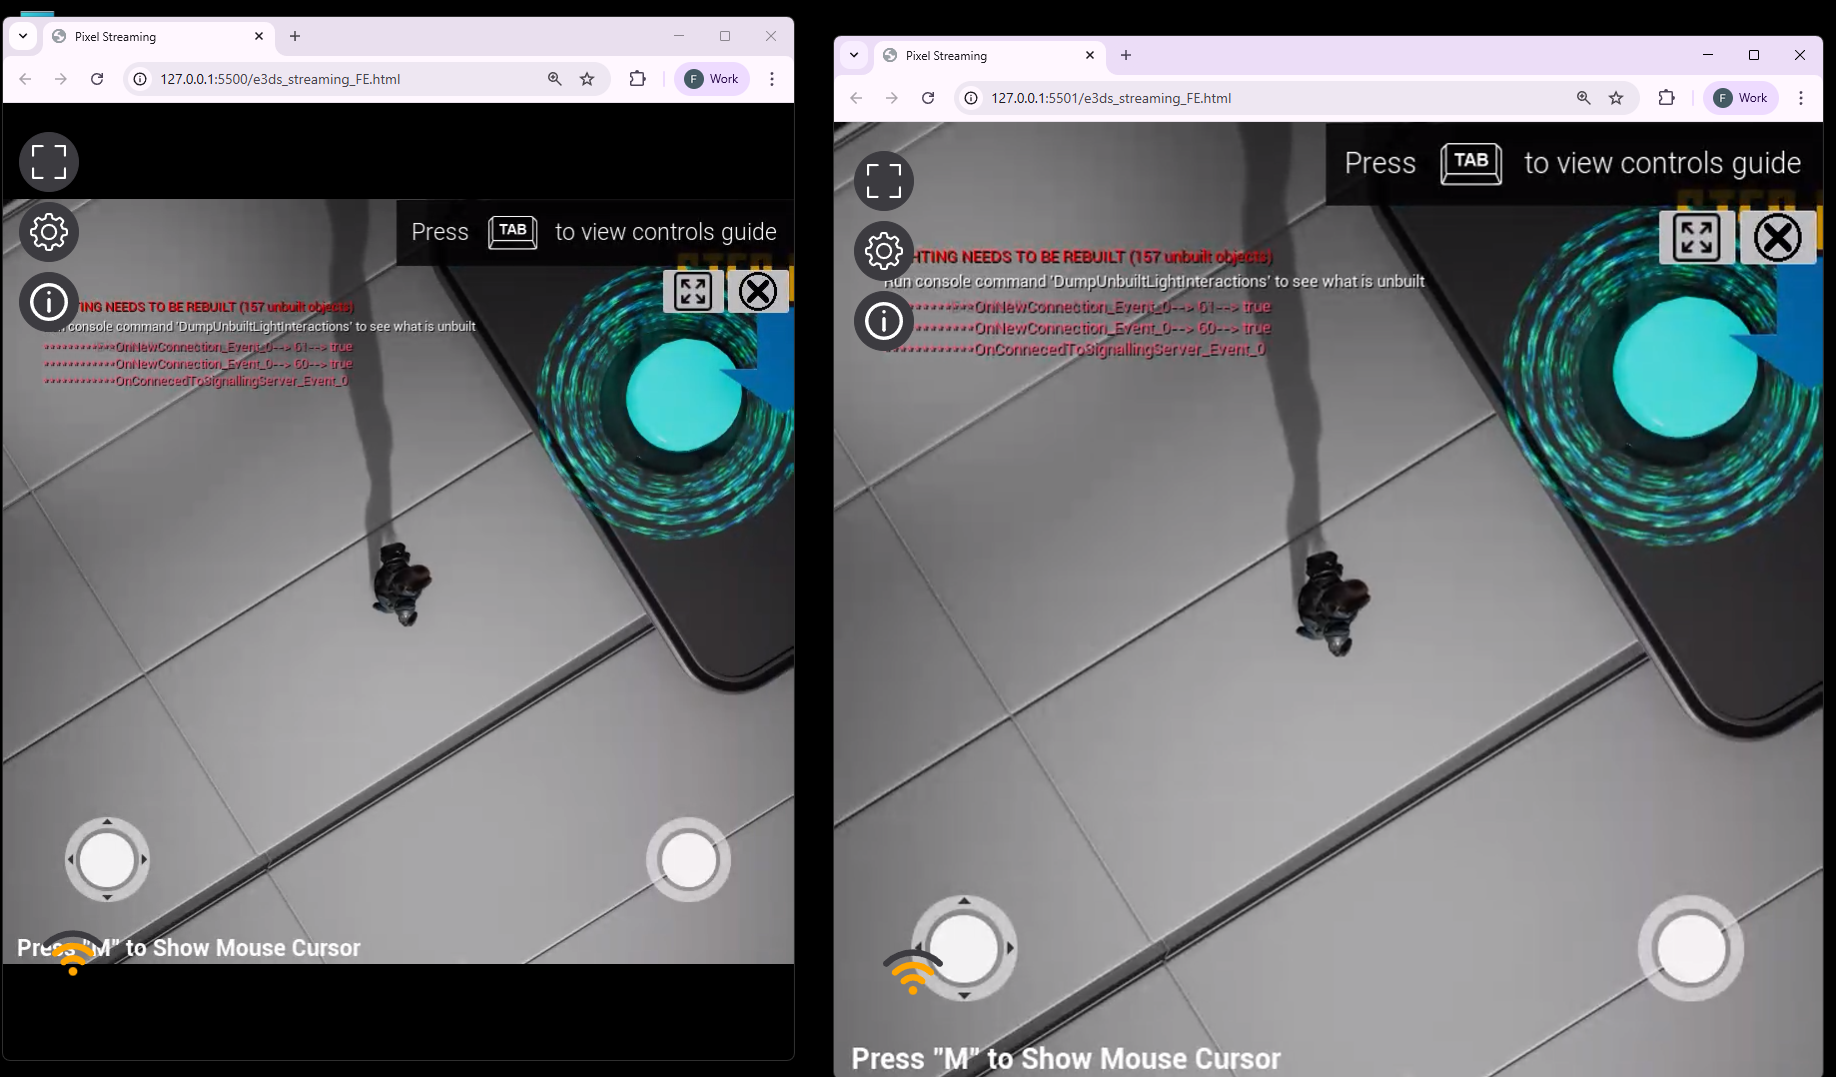
Guest → Can only view the host’s actions but cannot interact directly.
Video
-
Left panel → Guest view (observer)
-
Right panel → Host view (controller)
The guest observes all host activities but cannot control the session.
Need help?
🛠️ Contact our Support Team
💬 Join the Community on Discord
Follow us on: